
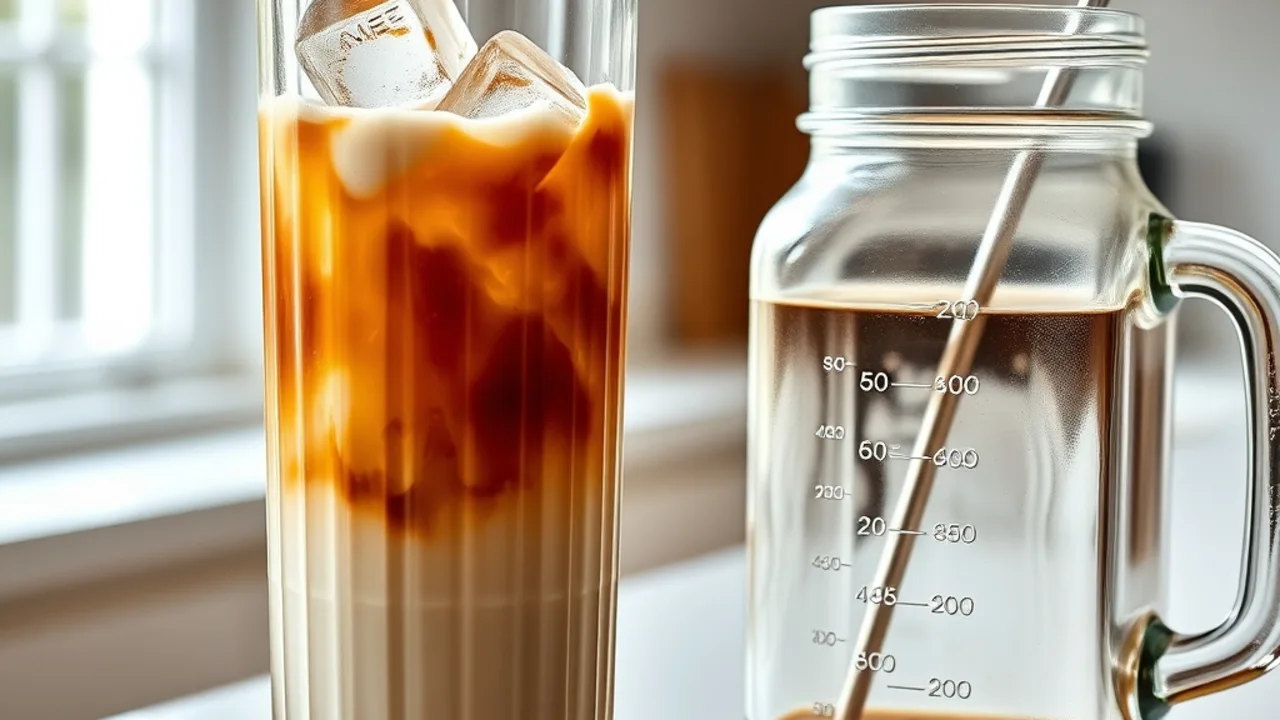
When you learn how to make your own cold brew, you take complete control of your morning routine while saving money on coffee shop runs. Unlike traditional hot drip coffee cooled over ice, genuine cold brew relies on time rather than heat to extract aromatics, sugars, and oils from the ground coffee. The result is an ultra-smooth, naturally sweet, low-acidity brew that stays fresh in your refrigerator for up to two weeks.
Crafting this chilled concentrate requires no high-tech espresso machines or special gadgets. With a simple glass pitcher or standard mason jar, filtered water, and coarsely ground beans, you can master homemade coffee concentrate in just a few minutes of active prep work.
Why Cold Brew Tastes Naturally Sweeter and Milder
The secret behind cold brew lies in cold-water immersion. High temperatures extract acidic compounds and harsh tannins rapidly from coffee beans. In contrast, cold water slowly dissolves soluble flavors, yielding a velvety cup with noticeably reduced perceived bitterness. According to sensory and chemical research highlighted by the National Coffee Association, different roasts interact uniquely with brew methods, yet cold immersion consistently highlights chocolatey, nutty, and caramelly tasting notes.
Because cold immersion creates a stable extract, you can easily tweak serving strengths. Whether you pour it straight over clear ice cubes, blend it into an iced coffee with protein powder, or use it as the base for creative specialty drinks, cold brew gives you reliable flavor without sharp astringency.
The Best Coffee Beans and Grind Size for Cold Brew
To avoid cloudy, over-extracted coffee, you must choose the proper bean roast and grind consistency. Coarse texture is critical for clean filtering.
- Grind Size: Always aim for an extra-coarse grind resembling sea salt or coarse kosher salt. Fine espresso grinds will slip straight through filters, creating a muddy sediment in your pitcher and resulting in bitter over-extraction.
- Roast Profile: Medium to dark roasts shine brightest in cold immersion. They carry deeper notes of cocoa, molasses, and toasted hazelnuts that stand up nicely to dairy and alternative milks.
- Bean Quality: Whole beans ground just before steeping preserve aromatic volatile oils best. However, store-bought coarsely ground bagged coffee works adequately for easy batch preparation.
The Golden Cold Brew Ratio: Concentrate vs. Ready-to-Drink
Brewing success comes down to your coffee-to-water ratio by weight. Depending on your kitchen routine and refrigerator space, you can brew either a versatile concentrate or a ready-to-pour beverage.
| Brew Style | Coffee to Water Ratio (Weight) | Cup Measurement Approximation | How to Serve |
|---|---|---|---|
| Cold Brew Concentrate | 1:4 to 1:5 | 1 cup coarsely ground coffee to 4 cups cold filtered water | Dilute 1:1 with cold water, milk, or oat milk before drinking |
| Ready-to-Drink | 1:8 | 1 cup coarsely ground coffee to 8 cups cold filtered water | Pour directly over ice with no dilution needed |
Concentrate is usually the preferred method because it saves valuable refrigerator shelf space and allows each household member to adjust their cup strength individually. If you enjoy rich morning blends, you might also explore our DIY iced coffee guide for other popular chilled preparation styles.
Equipment You Will Need
You probably already have the essential equipment in your cabinets:
- A Large Glass Vessel: A 64-ounce mason jar or a dedicated glass vessel such as the Mason Jar Pitcher 64 oz makes pouring and steeping seamless.
- Filtration Setup: A fine-mesh stainless steel sieve, combined with unbleached paper coffee filters, a nut milk bag, or clean cheesecloth.
- Digital Kitchen Scale: Helpful for consistent measurement, though standard measuring cups work fine.
- Spoon: A long wooden or silicone spoon to ensure all grinds are fully saturated.
Step-by-Step: How to Make Your Own Cold Brew
1. Measure and Grind the Beans
Weigh out 1 cup (roughly 85 grams) of your favorite whole bean coffee. Set your burr grinder to its coarsest setting and process the beans. The finished texture should resemble cracked peppercorns or coarse sanding sugar.
2. Combine with Filtered Water
Pour the coffee grounds into your clean glass jar or pitcher. Slowly pour 4 cups (32 fluid ounces) of cold or room-temperature filtered water over the grounds. Filtered water makes a noticeable difference, as chlorine and minerals from tap water can interfere with delicate coffee extraction.
3. Stir and Saturate
Gently stir the mixture with a spoon until every dry pocket of coffee grounds is thoroughly moistened. Coffee grounds naturally float to form a crust on top of the water; a gentle swirl ensures complete surface contact.
4. Steep at Room Temperature or in the Fridge
Cover the pitcher tightly with a secure lid to prevent refrigerator odors from seeping in. Let the coffee steep undisturbed using one of these timing standards:
- Room Temperature: Steep on the kitchen counter away from direct sunlight for 12 to 14 hours. Extraction happens faster at ambient room temperatures (around 68°F to 72°F).
- Refrigerator: Steep inside the fridge for 16 to 20 hours. Cooler conditions slow extraction slightly, creating an exceptionally clean, mellow profile.
Do not steep past 24 hours. Leaving beans submerged for too long leaches astringent wood notes from the spent grounds, resulting in a dull, bitter finish.
5. Strain and Clarify
Set a fine-mesh strainer lined with a standard paper coffee filter or damp cheesecloth over a secondary clean glass container. Slowly pour the steeped liquid through the filter. Let gravity do the work; avoid pressing down on the wet grinds, as squeezing forces bitter micro-sediment through the mesh.
Creative Ways to Serve and Flavor Your Brew
Now that your smooth concentrate is ready, you can build barista-style café drinks directly at home. Here are three quick ways to enjoy your batch:
- Classic Chilled Pour: Fill a tall glass with large ice cubes. Add equal parts cold brew concentrate and cold water. Stir with a splash of half-and-half or oat milk.
- Sweetened Brown Sugar Cup: Stir a tablespoon of spiced syrup into your glass, following the steps from our homemade brown sugar iced coffee recipe for rich caramel sweetness.
- Decadent Caramel Treat: Drizzle your glass interior with our scratch-made caramel iced coffee syrup recipe before adding ice, coffee concentrate, and frothed milk.
- Biscoff Twist: For dessert-style indulgence, pair cold brew concentrate with cookie butter using our popular cookie butter iced coffee recipe.
Storage, Freshness, and Food Safety
Always store finished cold brew in an airtight glass container inside the refrigerator. Because cold brew has a higher pH than boiling-water coffee, proper refrigeration is essential to prevent bacterial spoilage. Guidance on general perishable beverage safety from the FoodSafety.gov Beverage Guidelines highlights the importance of consistent refrigeration below 40°F (4°C).
When stored tightly covered, pure undiluted concentrate remains remarkably fresh for 10 to 14 days. If diluted with water or dairy, consume within 2 to 3 days for the cleanest flavor. If your batch ever smells sour or develops surface film, discard it immediately.
Cold Brew vs. Traditional Iced Coffee: What is the Difference?
While both beverages are enjoyed chilled, they are prepared through fundamentally different methods:
- Extraction Temperature: Traditional iced coffee is brewed hot (usually via drip or pour-over) and subsequently poured over ice or chilled in the fridge. Cold brew never encounters hot water during extraction.
- Acidity and Stomach Comfort: Hot water extracts volatile chlorogenic acids quickly. Many drinkers who experience mild stomach sensitivity find cold brew gentler and noticeably smoother.
- Shelf Stability: Hot coffee degrades and oxidizes within hours of cooling, turning flat or sour. Cold brew maintains sweet, rounded flavors for days in refrigeration.
Frequently Asked Questions
Can I use regular pre-ground coffee to make cold brew?
Standard store-bought drip coffee grounds are typically medium-ground. While you can use them in an emergency, they will yield a cloudier concentrate and may taste slightly bitter because the smaller particles extract too quickly. If using regular ground coffee, shorten the steep time to 10–12 hours and double-strain through paper filters.
Why does my homemade cold brew taste weak or watery?
A weak batch usually indicates either too coarse of a coffee-to-water ratio (too much water for the grounds used) or insufficient steeping time. Make sure you steep for at least 12 hours at room temperature or 16 hours in the refrigerator.
Can I heat up cold brew concentrate for hot coffee?
Yes. Many coffee lovers keep cold brew concentrate in their fridge specifically to make hot coffee. Combine equal parts concentrate and boiling water in a mug for a remarkably smooth, low-acid hot cup without bitterness.
Does cold brew coffee have more caffeine than regular coffee?
Because cold brew concentrate uses a higher ratio of coffee grounds to water, it contains more caffeine ounce-for-ounce than regular drip coffee. However, once diluted 1:1 with water or milk, the total caffeine content per serving is comparable to a standard morning cup.


