
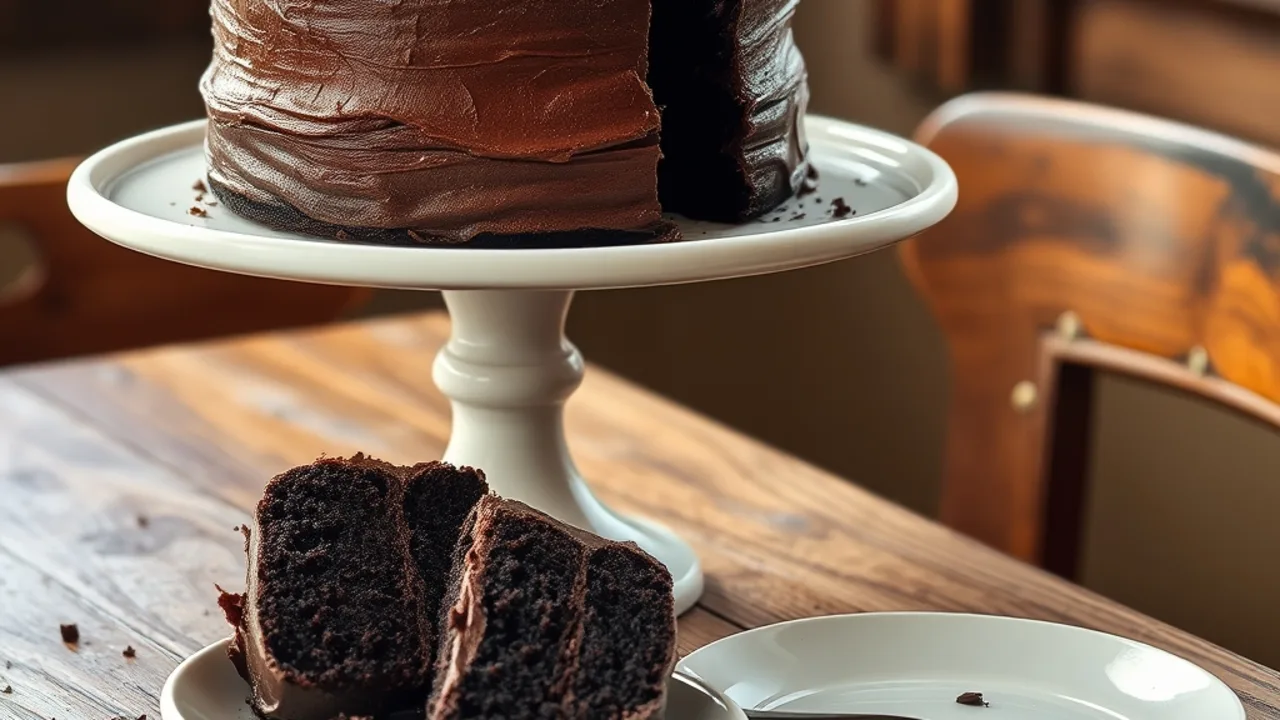
A classic, homemade chocolate cake with buttercream frosting is the ultimate dessert centerpiece. Whether you are celebrating a special birthday, hosting an intimate dinner party, or simply satisfying a deep chocolate craving on a cozy weekend, nothing rivals the tender crumb of a scratch-made sponge coated in lush, velvety frosting. While store-bought bakery cakes often lean dry or cloyingly sweet, this recipe balances intense cocoa flavor with a tender, moist interior and an ultra-creamy, melt-in-your-mouth chocolate buttercream.
Best of all, you do not need complicated equipment or professional pastry training to achieve bakery-standard results. With standard pantry staples, a couple of round cake pans, and a simple mixing technique, you can master this bakery favorite right in your own kitchen.
What Makes This Chocolate Cake Recipe Special?
Baking a cake from scratch can feel daunting if you have ever ended up with a sponge that was dry, dense, or spongy in the wrong way. This foolproof recipe relies on proven baking science to guarantee consistent results every single time:
- Oil-Based Batter: While butter yields great flavor, using a neutral vegetable oil produces a significantly softer crumb that stays moist for days, even when chilled.
- Hot Coffee Bloom: Adding hot freshly brewed coffee dissolves and "blooms" the cocoa powder, releasing aromatic oils and deepening the roasted cocoa notes without leaving any noticeable coffee flavor.
- Silky American Buttercream: Whipping high-fat real butter thoroughly before adding cocoa and powdered sugar creates a light, billowy frosting that glides effortlessly across the cake without tearing the delicate crumb.
If you love preparing homemade sweet treats, explore our collection of easy chocolate dessert recipes or discover new inspiration across the wonderful world of desserts.
Key Ingredients You Will Need
Before turning on your oven, measure your ingredients carefully. Baking is an exact science where precision delivers the best texture and rise.
For the Chocolate Cake Layers
- All-Purpose Flour: 2 cups (240g), spooned and leveled to prevent packing excess flour into the measuring cup.
- Granulated Sugar: 2 cups (400g) for sweetness and crumb moisture.
- Unsweetened Dutch-Process Cocoa Powder: 3/4 cup (75g). Dutch-process cocoa offers a darker color and smoother, deeper flavor than natural cocoa.
- Leavening Agents: 2 teaspoons baking powder and 1 1/2 teaspoons baking soda ensure an even, airy lift.
- Fine Sea Salt: 1 teaspoon to balance the rich sugar profile.
- Large Eggs: 2 eggs at room temperature to ensure proper emulsification into the liquid batter.
- Buttermilk: 1 cup (240ml) at room temperature. The natural acidity tenderizes the gluten strands, ensuring a delicate texture.
- Neutral Oil: 1/2 cup (120ml) canola, vegetable, or avocado oil.
- Pure Vanilla Extract: 2 teaspoons.
- Freshly Brewed Hot Coffee: 1 cup (240ml). You can also use boiling water with 1 teaspoon of espresso powder, or plain boiling water if avoiding caffeine.
For the Whipped Chocolate Buttercream Frosting
- Unsalted Butter: 1 1/2 cups (3 sticks or 340g), softened to cool room temperature (around 65°F to 68°F).
- Unsweetened Cocoa Powder: 1 cup (100g), sifted to remove clumps.
- Powdered Sugar (Confectioners' Sugar): 4 to 4 1/2 cups (480g–540g), sifted.
- Heavy Whipping Cream: 1/3 to 1/2 cup (80ml–120ml), adjusted to reach your desired spreadable consistency.
- Pure Vanilla Extract: 2 teaspoons.
- Fine Salt: 1/4 teaspoon to cut through sweetness.
Step-by-Step Instructions
1. Prepare Your Pans and Oven
Preheat your oven to 350°F (177°C). Generously grease the bottoms and sides of two 9-inch round cake pans with butter or cooking spray. Line the bottom of each pan with a parchment paper circle, then lightly dust the interior with cocoa powder instead of flour to avoid white patches on the baked crust.
2. Whisk the Dry Ingredients
In a large mixing bowl, sift together the all-purpose flour, granulated sugar, cocoa powder, baking powder, baking soda, and salt. Whisk for 30 seconds to ensure the leavening agents and cocoa are thoroughly distributed throughout the flour.
3. Add the Wet Ingredients
Add the room-temperature eggs, buttermilk, neutral oil, and vanilla extract to the dry ingredients. Using a hand mixer on medium speed or a sturdy wire whisk, mix for about 2 minutes until completely smooth and cohesive.
4. Bloom with Hot Coffee
Pour in the cup of freshly brewed hot coffee. Stir slowly by hand with a silicone spatula until incorporated. The batter will be quite thin and runny—this is entirely normal and ensures a light, moist finished cake.
5. Bake the Cake Layers
Divide the batter evenly between the prepared pans. Bake on the middle rack for 30 to 35 minutes, or until a wooden toothpick inserted into the center emerges clean or with just a few moist crumbs attached. For background on how oven heat activates leaveners and sets cake structures, consult the cake science guides on King Arthur Baking.
Transfer the pans to a wire cooling rack and let them rest for 15 minutes. Run an offset spatula around the edges, invert the pans onto the wire rack, peel off the parchment paper, and allow the cakes to cool completely to room temperature before frosting. Never frost warm cake layers, as the butter in your frosting will melt immediately.
6. Make the Silky Chocolate Buttercream
In a large bowl using a stand mixer fitted with the paddle attachment (or a hand mixer), beat the softened butter on medium-high speed for 3 to 4 full minutes until pale, smooth, and fluffy. Sift in the cocoa powder and mix on low speed until combined.
Alternately add the powdered sugar and heavy cream in batches, mixing on low speed to prevent sugar clouds. Once incorporated, add the vanilla extract and salt. Increase the mixer speed to medium-high and beat for another 2 to 3 minutes until billowy and light. If the frosting feels too stiff, add an extra tablespoon of cream; if too soft, beat in an additional 2 tablespoons of sifted powdered sugar.
7. Assemble and Frost
If the cake tops are domed, use a long serrated knife to gently level them. Place the first layer top-side down on a cake platter or turntable. Spread roughly 1 cup of buttercream evenly across the top using an offset spatula. Gently place the second cake layer on top, bottom-side up, to create a smooth, level surface.
Spread a very thin layer of frosting over the top and sides of the entire cake to lock in stray crumbs—this is your crumb coat. Chill the cake in the refrigerator for 20 minutes to set. Once firm, spread the remaining buttercream lavishly over the top and sides, using the back of a spoon or offset spatula to create dramatic bakery-style swirls.
Baker's Tips for Flawless Results
- Bring Dairy to Room Temperature: Cold eggs and cold buttermilk cause melted fats to seize and curdle the batter. Setting them on the counter 45 minutes before baking creates a smooth emulsion that traps air evenly.
- Do Not Skip Parchment Paper: Because this chocolate cake is exceptionally moist, parchment rounds prevent the center of the cake from sticking to the pan bottom.
- Adjusting Sweetness: Classic American buttercream is naturally sweet. A pinch of extra fine salt or an extra tablespoon of Dutch-process cocoa powder cuts through excessive sweetness and highlights roasted cocoa notes.
- Pairing with Other Toppings: For celebratory gatherings, serve each slice alongside fresh berries, a scoop of vanilla bean gelato, or a dollop of homemade whipped cream.
Storage and Make-Ahead Instructions
Proper storage ensures your chocolate cake retains its moist, velvety texture:
- Room Temperature: Keep the frosted cake under a cake dome or inside an airtight cake carrier at cool room temperature for up to 3 days.
- Refrigeration: In warm climates or during summer, chill the cake for up to 5 days. For food preservation safety principles, consult the FoodSafety.gov safe food storage guide. Always bring refrigerated slices to room temperature for 30 minutes before serving so the buttercream softens to its luscious texture.
- Freezing Cake Layers: Wrap unfrosted, cooled cake layers tightly in plastic wrap and a layer of aluminum foil. Freeze for up to 3 months. Thaw overnight in the refrigerator before frosting.
Frequently Asked Questions
Can I make this cake without coffee?
Yes. You can replace the hot brewed coffee with an equal amount of boiling water. The hot liquid is necessary to bloom the cocoa powder and create an ultra-smooth batter, but boiling water will work without altering the cake's structure.
Can I turn this recipe into cupcakes?
Absolutely. Line two standard 12-cup muffin tins with paper liners and fill each cup roughly two-thirds full. Bake at 350°F (177°C) for 18 to 22 minutes, checking with a toothpick. This recipe yields approximately 24 standard cupcakes.
What is the difference between Dutch-process and natural cocoa?
Natural cocoa is untreated and acidic, with a fruitier, sharper chocolate taste. Dutch-process cocoa has been treated with an alkali solution to neutralize acidity, resulting in a darker color, mellower flavor, and better solubility. Either works in this recipe because we use both baking powder and baking soda, but Dutch-process delivers a classic, deep bakery finish.
If you enjoy comforting family-style desserts that require minimal fuss, you might also like our easy vanilla pudding poke cake or layered treats like our easy no-bake chocolate lasagna dessert.


