
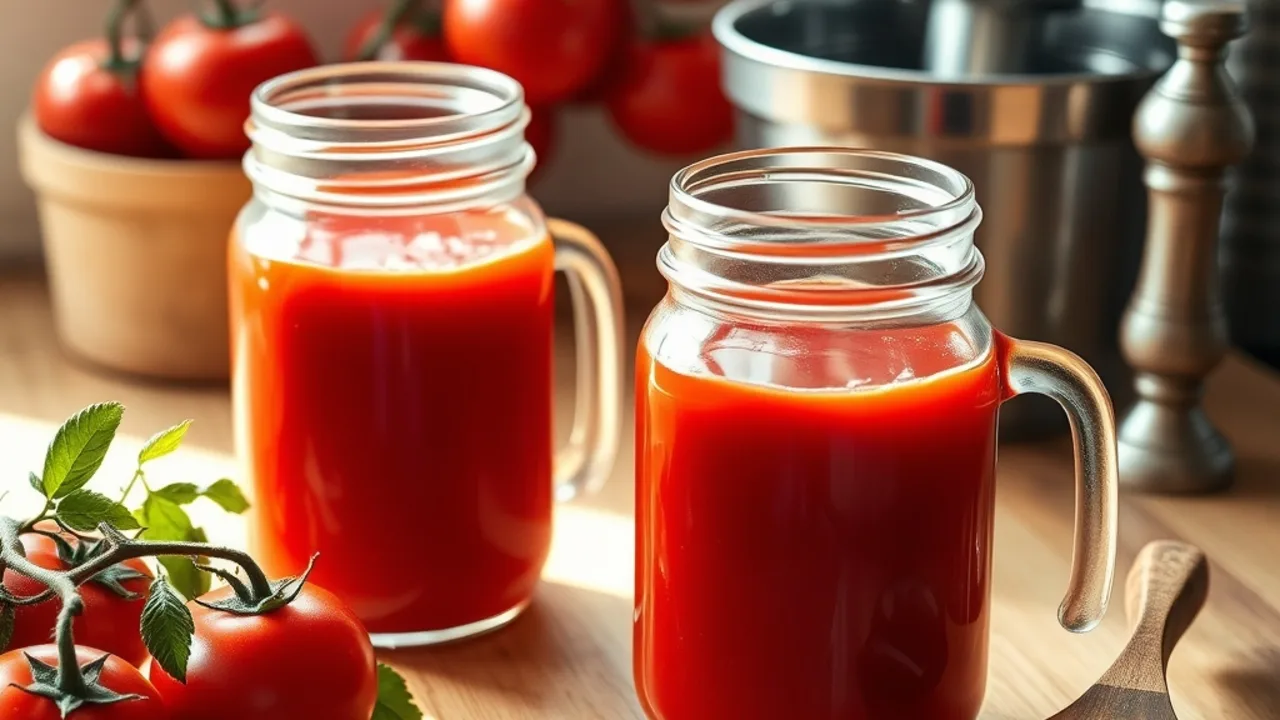
Canning tomato juice from fresh tomatoes is one of the most rewarding ways to preserve summer flavor for the entire year. To can tomato juice safely at home, simmer fresh washed tomatoes until soft, press them through a food mill to remove skins and seeds, stir in bottled lemon juice for safe acidity, and process the filled jars in a boiling water bath canner for 35 minutes for pints or 40 minutes for quarts.
Whether you have baskets of ripe garden tomatoes or scored a great deal at the farmers market, making your own shelf-stable juice is simpler than you might think. A classic batch gives you the rich, silky base for cozy soups, savory chili, and morning drinks that taste leagues better than anything from a store shelf.
In This Article
Why You Must Acidify Tomato Juice
Before you fill your first jar, there is one non-negotiable rule in home canning: tomatoes must be acidified. While tomatoes are traditionally considered acidic, modern tomato varieties often have lower acidity levels than heritage crops.
According to the National Center for Home Food Preservation, adding bottled lemon juice or citric acid is essential to keep the pH safely below 4.6. This prevents the growth of harmful bacteria, including Clostridium botulinum. Always use commercial bottled lemon juice rather than fresh lemons because bottled juice has a guaranteed, standardized acidity level.
Add the acid directly to each clean jar before pouring in the hot juice: add 1 tablespoon of bottled lemon juice per pint jar, or 2 tablespoons per quart jar. If you prefer citric acid, use 1/4 teaspoon per pint or 1/2 teaspoon per quart.
Choosing the Best Tomatoes for Juice
The flavor and texture of your finished drink depend directly on the fruit you choose. You can use almost any standard red slicing tomato, paste tomato, or a combination of both.
- Paste tomatoes (like Roma or San Marzano): These provide a thicker, richer consistency because they contain less water and denser flesh.
- Slicing tomatoes (like Beefsteak or Celebrity): These yield a sweeter, brighter juice with higher liquid volume.
- Heirloom varieties: Mixing in a few heirloom tomatoes adds deep, complex, sweet-tart notes to your batch.
For the best results, use firm, fully ripe tomatoes picked at the peak of freshness. Never use tomatoes from dead or frost-killed vines, as their chemical balance can change and make safe preservation difficult. If you want to learn more about preparing raw tomatoes for beverages before canning, explore our guide on how to make tomato juice from fresh tomatoes at home.
Essential Canning Equipment
You do not need fancy gadgets to start canning, but having the right tools makes the workflow smooth and safe. Following standard Ball home preserving guidelines, gather these essentials before heating your stove:
- Canning jars: Pint or quart glass mason jars with fresh lids and matching rings.
- Food mill or fine strainer: A manual food mill separates seeds and tough skins from the pulp quickly without blending bitter air pockets into the liquid.
- Large stainless steel pot: Use non-reactive cookware like stainless steel or enameled cast iron so the tomato acid does not react with metal.
- Water bath canner: A large, deep pot equipped with an interior wire rack to keep jars off the pot floor.
- Jar lifter and funnel: These protect your hands from boiling water and prevent spills on jar rims.
- Bubble popper or wooden chopstick: For releasing trapped air inside the filled jars.
How to Can Tomato Juice Step-by-Step
This method follows the trusted standards for water bath canning tomato juice from fresh tomatoes. Work in steady stages to keep everything hot and clean.
1. Wash and Prep the Tomatoes
Rinse your tomatoes thoroughly under cool running water. Cut away the stem scars, core each tomato, and slice the fruit into quarters. You need about 3 to 3.5 pounds of fresh tomatoes for every quart of juice you plan to preserve.
2. Heat the Tomatoes Immediately
Have you ever noticed homemade juice separating into clear water on top and thick red pulp on the bottom? That happens because naturally occurring enzymes break down pectin the moment a tomato is cut. To stop this enzyme reaction, crush a small layer of tomato quarters directly in the bottom of your pot over medium heat so juice releases and begins to boil. Slowly add the rest of your cut tomatoes, stirring constantly to keep the mixture bubbling vigorously.
3. Strain the Hot Juice
Once all tomatoes are soft and bubbling (about 5 to 10 minutes), take the pot off the heat. Run the hot mixture through your food mill or a fine-mesh sieve set over a clean pot. This step leaves the skins and seeds behind, giving you a smooth, velvety liquid ready for bottling. If you enjoy creating flavorful drink bases with your fresh pressings, you can also use this liquid in a homemade Bloody Mary mix from fresh tomatoes.
4. Bring the Strained Juice Back to a Simmer
Pour the strained juice back into the large pot and bring it to a gentle simmer at roughly 190°F to 200°F (88°C to 93°C). Do not let it boil away, but make sure it is steaming hot when it enters the jars. If you enjoy an old fashioned tomato juice recipe, you can add 1/2 teaspoon of canning salt per pint or 1 teaspoon per quart. Salt is added entirely for flavor and can be omitted safely if you watch your sodium intake.
5. Fill and Adjust Headspace
Add your bottled lemon juice (1 tablespoon for pints, 2 tablespoons for quarts) directly into hot, clean jars. Ladle the hot juice over the lemon juice, leaving exactly 1/2 inch of headspace at the top. Headspace is the empty space between the liquid surface and the jar rim that allows food to expand safely during heating.
Run a clean plastic bubble popper around the inside edge to release any air pockets. Wipe the jar rims with a damp paper towel to remove any sticky tomato residue, place the flat lids on top, and screw down the metal bands until fingertip tight.
Water Bath vs. Pressure Canning Times
Knowing how long to process tomato juice in water bath canner vessels ensures every jar seals securely and stays safe for your pantry. You can preserve this recipe using either standard boiling water bath equipment or a pressure canner.
| Method | Jar Size | Processing Time (0–1,000 ft elevation) | Pressure Setting |
|---|---|---|---|
| Water Bath | Pints (16 oz) | 35 minutes | N/A (rolling boil) |
| Water Bath | Quarts (32 oz) | 40 minutes | N/A (rolling boil) |
| Pressure Canner (Dial Gauge) | Pints or Quarts | 15 minutes | 11 PSI |
| Pressure Canner (Weighted Gauge) | Pints or Quarts | 15 minutes | 10 PSI |
For water bath canning tomato juice from fresh tomatoes in water, make sure the water covers the jar tops by at least 1 to 2 inches. Start your processing timer only when the pot reaches a full rolling boil. If you choose pressure canning tomato juice, you still must add the bottled lemon juice for safety, but the shorter heat time helps preserve a fresh flavor profile.
Can You Can Tomato Juice Without a Water Bath?
Readers frequently ask about canning tomato juice without water bath equipment or skipping heat processing altogether. Methods like open-kettle canning (pouring hot juice into jars and simply letting them cool to snap the lid) or oven canning are unsafe. They do not heat the food evenly or purge trapped air completely, leaving your pantry vulnerable to mold and bacterial growth.
If you find yourself interested in canning tomato juice from fresh tomatoes without canning equipment, the safest alternative is freezing. Simply pour your prepared, strained juice into freezer-safe containers or silicone trays, leaving 1 inch of expansion space at the top. Freeze for up to 10 months to enjoy vibrant garden flavor whenever you like.
Old Fashioned Tomato Juice Recipe Card
Here is an easy reference guide to keep nearby while you work your canning station.
- Yield: About 4 quarts (or 8 pints)
- Prep Time: 30 minutes
- Cook Time: 25 minutes
- Water Bath Processing: 40 minutes (quarts) / 35 minutes (pints)
Ingredients
- 14 pounds fresh, ripe tomatoes (stemmed, washed, and quartered)
- 8 tablespoons bottled lemon juice (2 tablespoons per quart jar)
- 4 teaspoons canning salt (optional, 1 teaspoon per quart jar)
Instructions
- Heat tomatoes: Crush a handful of tomatoes in a large pot over medium heat. Bring to a boil, then gradually add remaining quarters, stirring frequently. Simmer until tender (about 10 minutes).
- Strain: Push the softened tomatoes through a food mill to remove skins and seeds.
- Reheat: Return the smooth juice to the pot and heat back to a gentle simmer.
- Prepare jars: Add 2 tablespoons bottled lemon juice and 1 teaspoon canning salt (if using) into each hot quart jar.
- Ladle and seal: Pour hot juice into the jars, leaving 1/2 inch of headspace. Wipe rims, apply lids, and screw bands finger-tight.
- Process: Submerge in a boiling water bath canner covered by 2 inches of water. Process quarts for 40 minutes (or pints for 35 minutes), adjusting for altitude if necessary.
- Cool: Turn off heat, remove canner lid, and rest for 5 minutes. Lift jars out without tilting and let them cool untouched on a towel for 12 to 24 hours. Check seals before storing.
Frequently Asked Questions
How long does canned tomato juice last on the shelf?
Properly sealed jars of tomato juice stored in a cool, dark, and dry pantry maintain top flavor and quality for about 12 to 18 months. Always label your jars with the canning date.
Why did my tomato juice separate into layers?
Layer separation happens when tomato enzymes break down pectin before the juice reaches a boil. To prevent this natural separation, heat the first batch of cut tomatoes rapidly to a boil before slowly adding the rest.
Can I use fresh lemon juice instead of bottled?
No, you should never use fresh lemon juice for water bath canning. Fresh lemons vary widely in their natural acidity, whereas commercial bottled lemon juice has a standardized pH level required for safe preservation.
Can I add onions, peppers, or herbs to this juice?
Do not add low-acid vegetables like onions, celery, or peppers to a standard water bath recipe unless you are following an approved tested recipe. Adding low-acid vegetables raises the pH level and requires longer pressure canning times to remain safe.
Mastering canning tomato juice from fresh tomatoes lets you capture peak summer goodness and stock your pantry with pure, nourishing flavor. Once you taste that vibrant homemade sip on a chilly winter morning, you will never want to go back to store-bought cans.
You might also like to explore our beginner-friendly canning fresh tomato juice water bath guide or learn how to prepare a single-glass fresh tomato juice recipe straight from your countertop.


